|
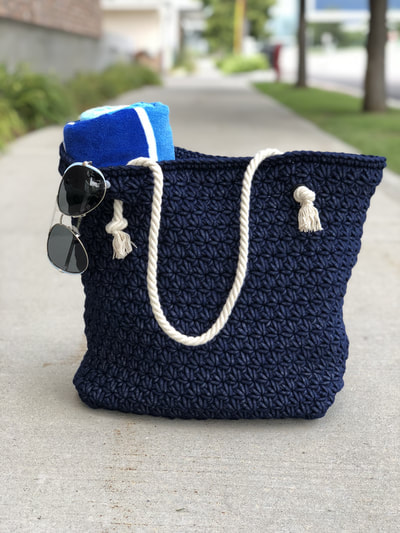
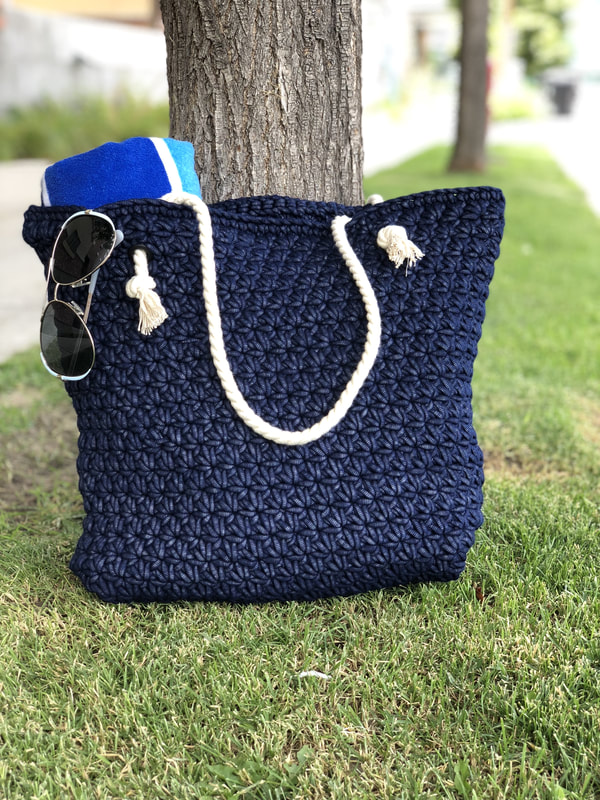
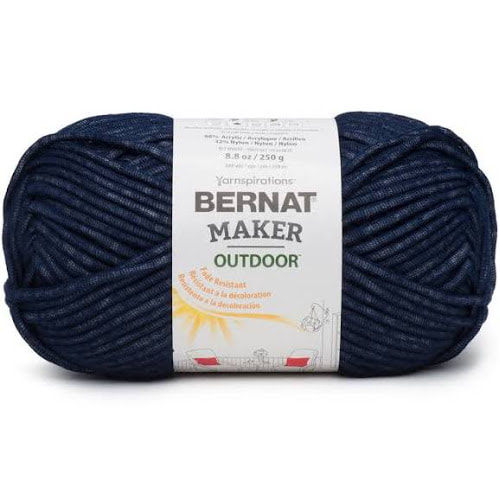
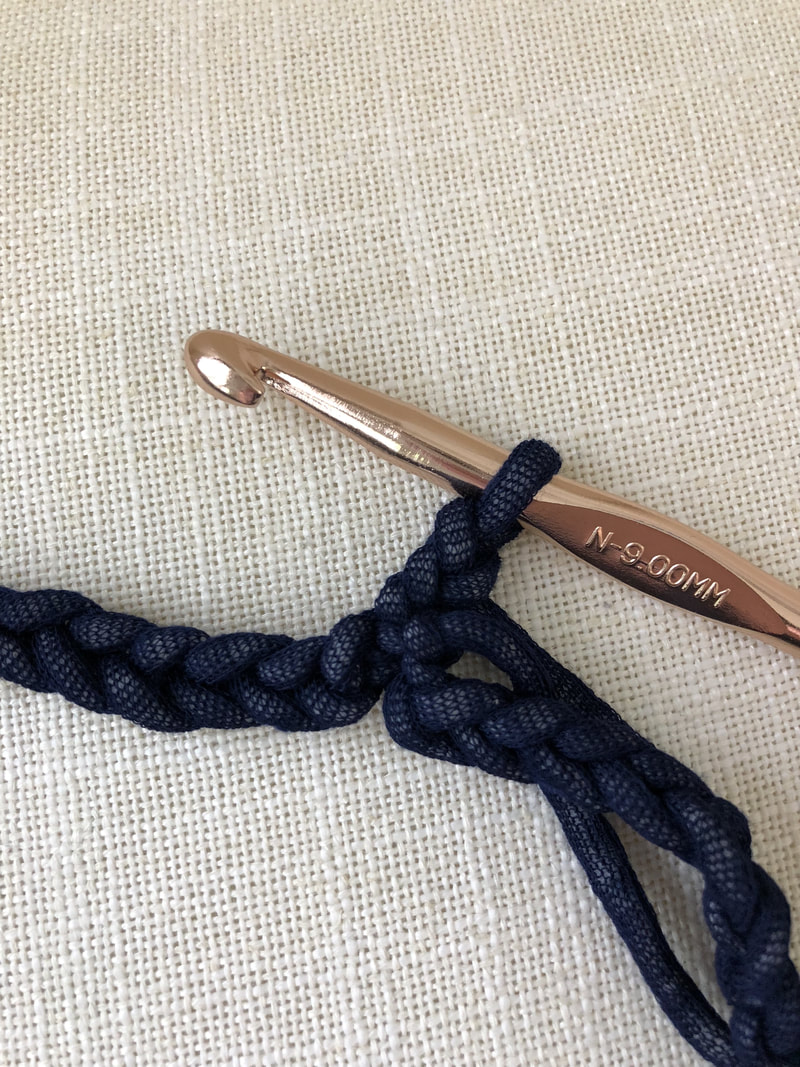
2023 Update: This yarn has been discontinued. I don't currently have a recommendation for a substitute, but any yarn of the same weight will yield the same results without the waterproofing. This bag is made with Bernat's new Outdoor Yarn using the star stitch. When I came across this yarn I was so excited! I had so many ideas but decided on a bag because of how versatile it could be. It works as a picnic bag, a park bag, a beach bag or just a tote when you need one. The perks of using the outdoor yarn is you can literally take it anywhere without worrying about ruining it like you would with a regular yarn. It is a Joann exclusive so it is only available for purchase online or in their store. If you'd like to purchase an inexpensive ad-free version of this pattern visit my Etsy shop HERE So lets get to the instructions! You will need: 2 balls of Bernat Outdoor Yarn Size N (9mm) Crochet Hook Yarn needle (optional) 2 yards of 3/8" twisted rope (I found mine at Joann) 1/2" Fashion Grommet Kit (Also found at Joann) Chain 95 Slip Stitch to beginning chain to form a circle (careful not to twist) For a super fun trick to keep your chains from twisting check out this youtube video HERE If you aren't familiar with the star stitch or how to do it in the round I would check out this awesome tutorial HERE For a quick refresher the star stitch is done like this: First Stitch: insert hook in second ch from hook, pull up a loop, insert hook in next ch from hook, pull up a loop, repeat until there are 6 loops on your hook, yarn over, and pull through all 6 loops -this creates the "spokes" of your star. chain 1 to finish stitch which will make the center "eye" of the star. Next stitch: Insert hook in “eye” you just made, pull up a loop, insert hook in last "spoke" of previous star, pull up a loop, insert hook in the foundation chain of the "spoke", pull up a loop, insert and pull up a loop on the next 2 chains (6 loops on your hook) yarn over and pull through all 6 loops; ch 1 to finish stitch and make the “eye” of the star. Continue this to the end. On your last star do not chain 1, your chain 1 will be a slip stitch to the first star stitch. Chain 3 to begin your star stitches.
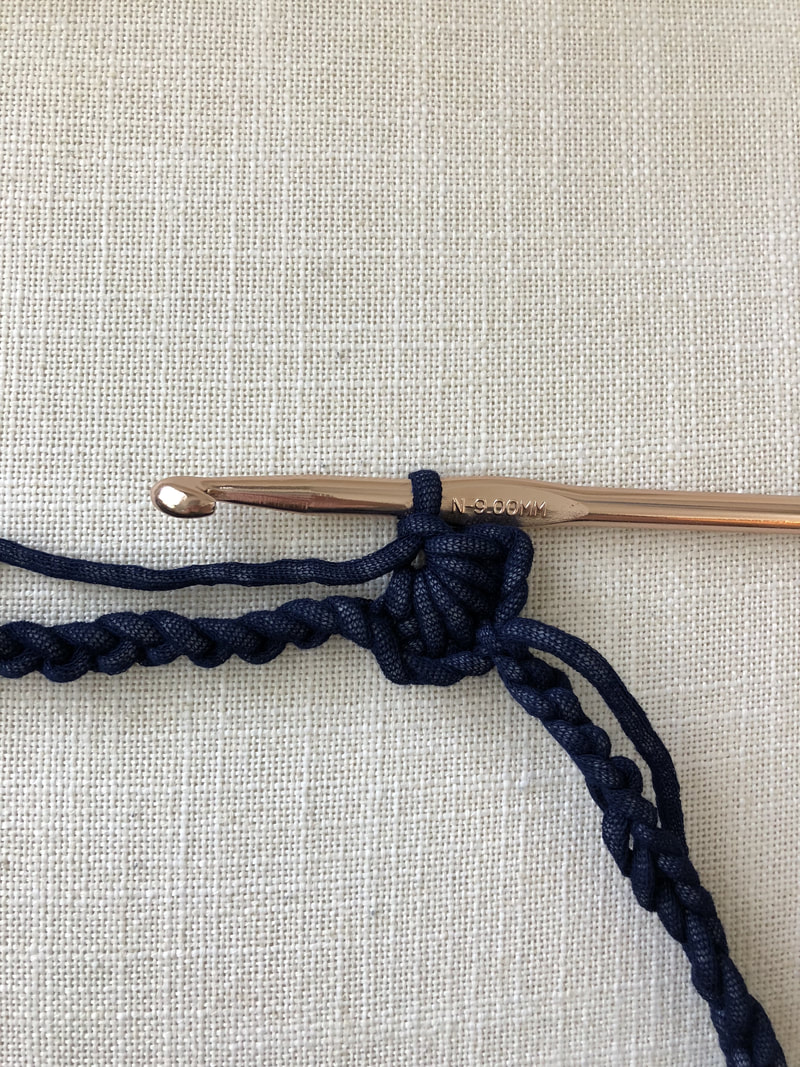
The photo above shows 1 star stitch completed. Continue star stitches until you reach your first stitch again. Instead of closing your last star stitch with a single crochet slip stitch to the first stitch. As shown in the photo below
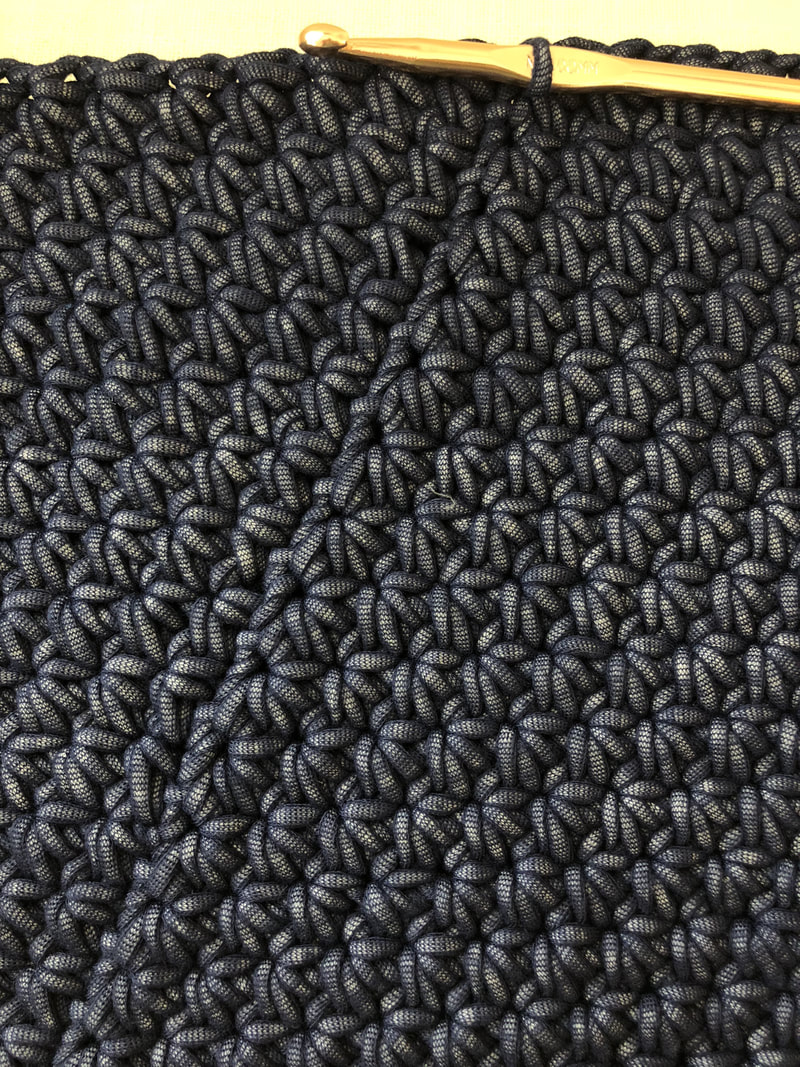
Chain 3 and continue star stitches all the way around for round 2.
Slip stitch to the beginning. Chain 3 and repeat. Continue this pattern until you have 21 rows of star stitches. You will start to create a seam as you go, this will be the back of your bag and isn't very visible as long as you keep your final star stitch and slip stitch to the top chain fairly tight. The photo below shows the seam on my bag.
To create a finish around the top slip stitch in each stitch around.
After finishing your slip stitches across the top of your bag it is time to sew the bottom together. TURN YOUR BAG INSIDE OUT. Using a yarn needle (if you don't have a yarn needle you can slip stitch the bottom shut), cut a piece of yarn about 40 inches in length and whip stitch the bottom together.
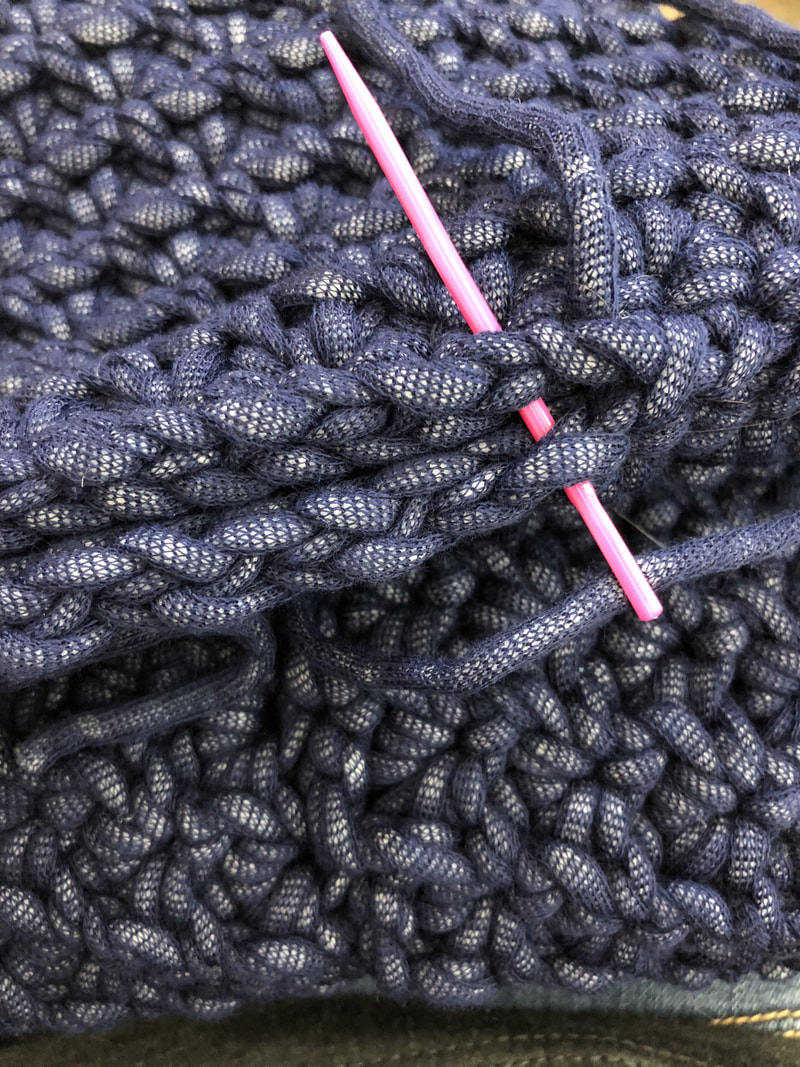
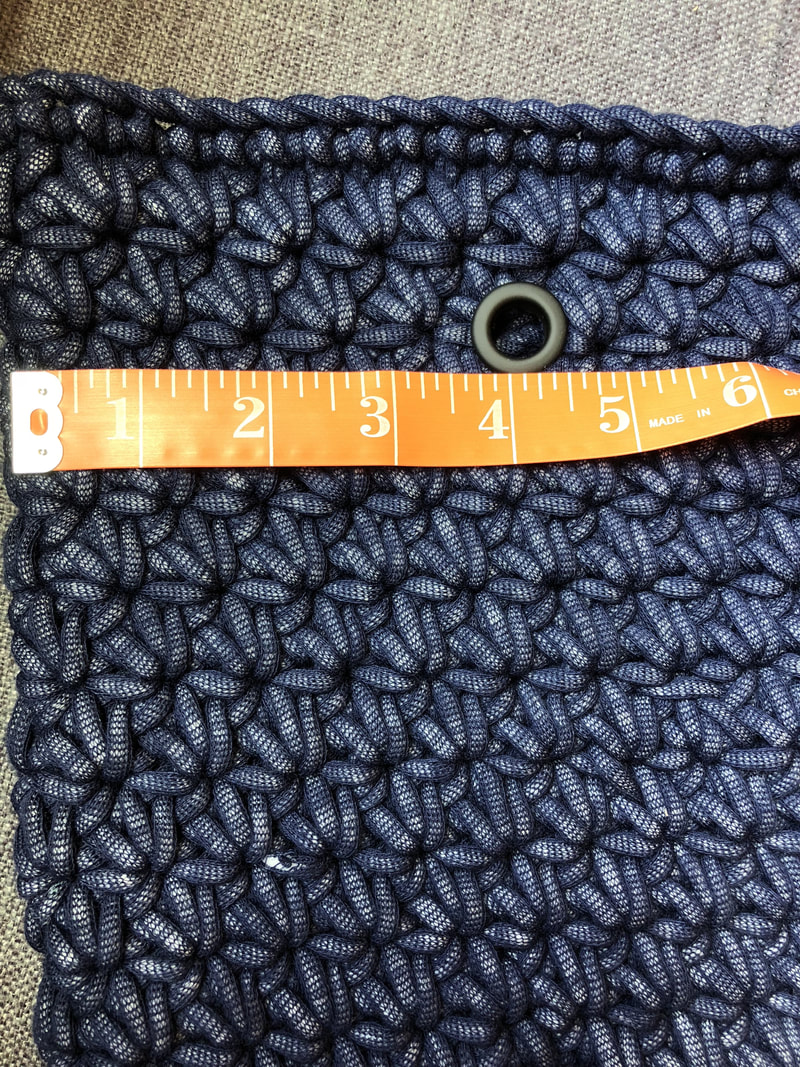
With you bag still inside out you are now going to form the base of the bag. Fold the bottom you just stitched together so the seam is in the middle and the corners of the bag lay flat. (see photo below- the seam is directly under the tape measure) You will stitch a straight line across at 4 inches.

Complete that on the other side as well so you have 2 stitched triangles on each corner. Turn your bag right side out and make sure the triangles you just stitched lay flat in the bottom of your bag. If you'd like to stitch them down to make them stay you can do that. I left mine the way it was, they do flatten out more over time.
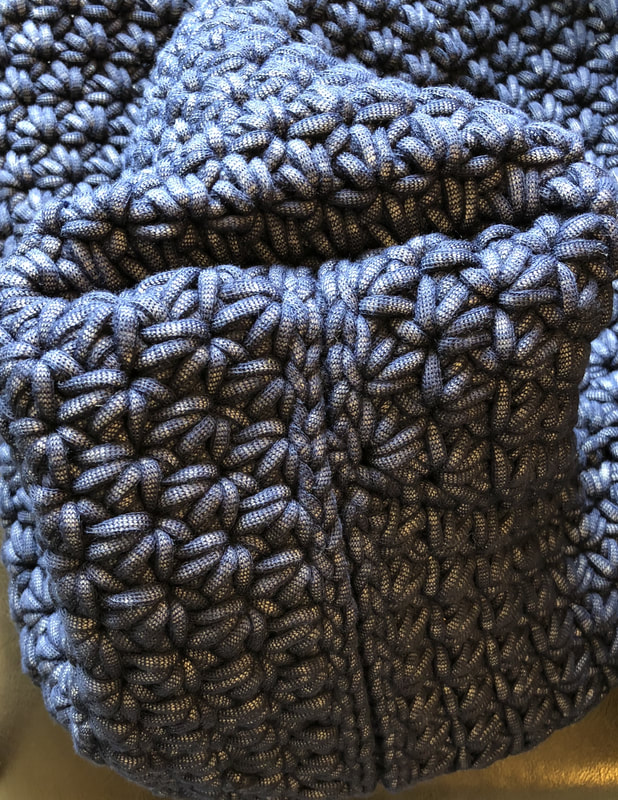
This picture is kind of an odd angle but this is how your bag should look at the bottom from the outside. You can see the seam running down the middle of the photo and the "pockets" of sorts sewing your triangles made. This forms a base for you bag to be able to stand flat.
The bag is almost complete! Now you will need a 1/2" grommet kit. I decided to use grommets to be able to hold the weight of whatever was in the bag. I found my grommet kit at Joann.
The great thing about the star stitch in this project is it makes its own holes. Normally you would have to crochet spaces for the grommets to go, but that isn't necessary in this case. Put the grommets in the very center of the star stitch With the seam on the back measure 4 inches from the left and right sides. I placed my grommets on the 3rd row down from the top of the bag. You do have to kind of wiggle them in, but the tight space makes it much easier to hammer them in because they stay put. Place your grommets. If you would like your grommets a little closer together go ahead and move a few spaces closer to the middle of the bag. You really can pick and choose where you'd like them to be. Follow the instructions on the kit to attach the grommets to the bag. Line up your front and back side of the bag and attach the grommets in the same place on the back side.
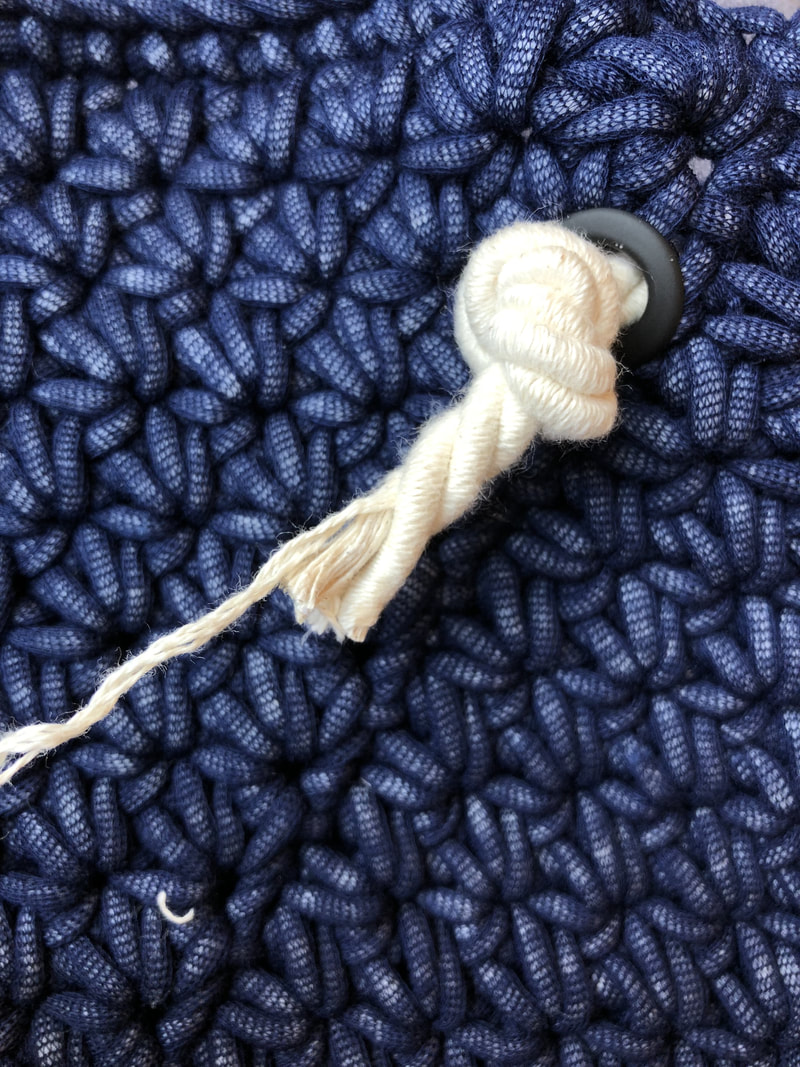
For the final step you will need the 3/8" rope. I also purchased mine at Joann. I had 2 yards cut and made 2 equal pieces 36" long. Thread one of the pieces from the inside of the bag to the outside of the bag through the grommet, tying a knot and leaving about 3 inches free at the bottom.
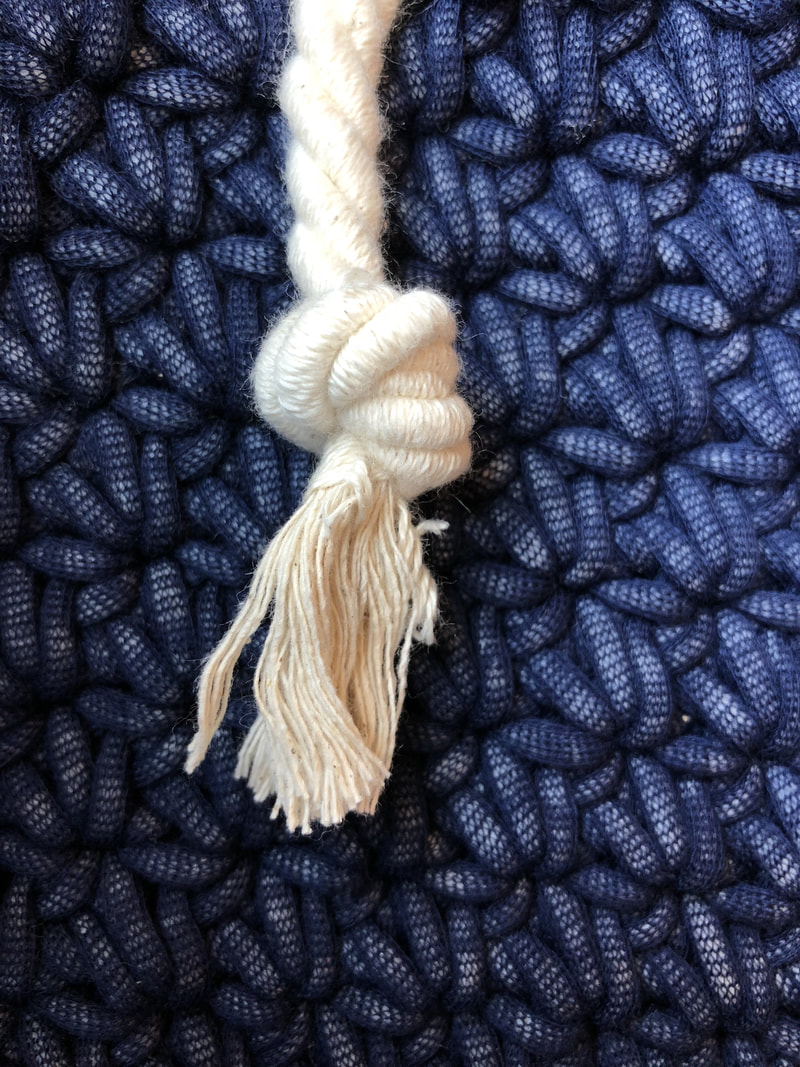
Cut the rope to about 1 and 1/2" below the knot. If you purchased rope like mine you can pull on the outside edges and unravel it. Do this on all sides to make a frayed effect.
Complete the last 2 steps with the other handle and the bag is complete!
|