
|
I have been crocheting my heart out lately and I just wanted to share my latest project with you. I just finished this adorable crochet beanie. It turned out absolutely perfect. I will definitely be wearing this for the rest of the winter.
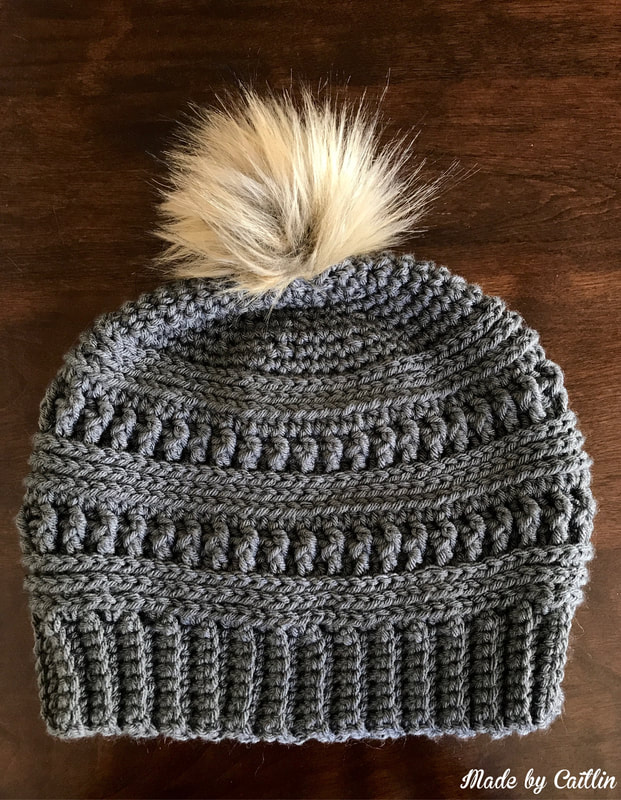
I found the pattern HERE go check it out and whip one up for yourself, you won't be disappointed. For my hat I used Yarn Bee Soft and Sleek from Hobby Lobby. It is so unbelievably soft and worked up perfect for this hat. Don't be afraid of the fur pom pom. It was seriously the easiest thing I have made! You can find the instructions for it on the same page as the pattern! I hope you enjoy it!
1 Comment
Valentines Day always means a fun little crochet project for me. I just whipped this up and i'm excited to share it with you. This is a double thick pot holder crocheted to be folded diagonally. 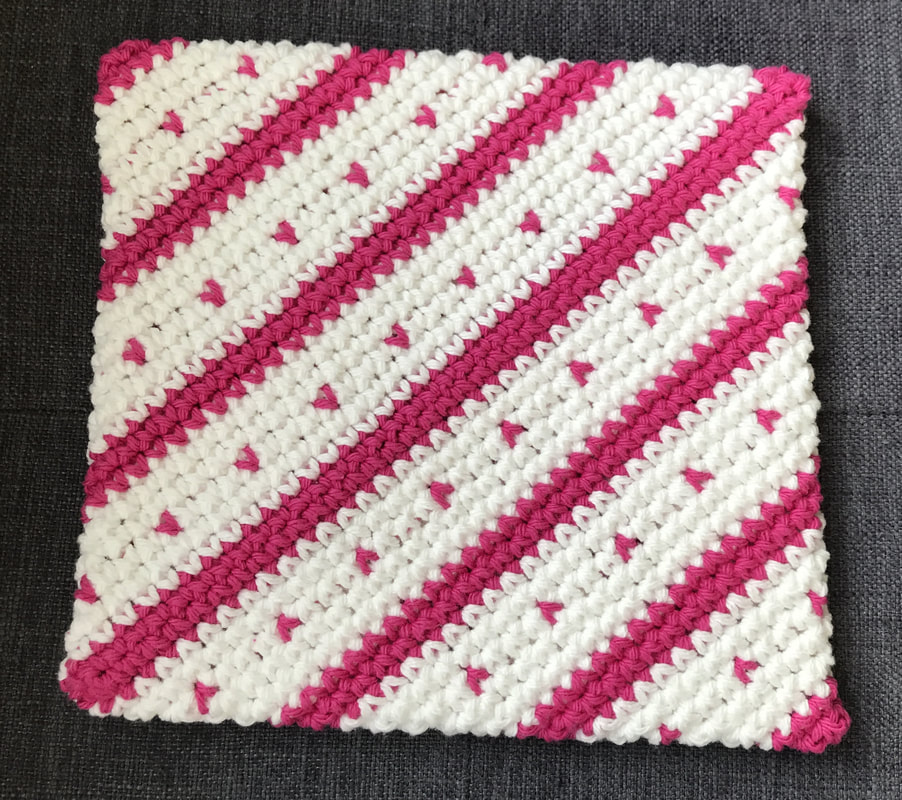 I took notes as I went along and took some photos, I didn't create an exact pattern for this so I will do my best to explain how I did it. This project is crocheted in the round, I didn't count any of my stitches because it is not necessary. A lot of this project is eyeballing what you think looks best. Thats the fun in crochet! :) You will need: 2 balls of cotton yarn ( I used Peaches and Cream in pink and white) Size H crochet hook Yarn Needle (for sewing together at the end) Lets get started! Beginning with PINK chain 40 Single crochet 3 in second chain from the hook 1 SC in each chain until you reach the last chain. Place 3 Sc in the end chain. Instead of working back and forth in rows this pattern is worked in rounds. You are now going to SC along the bottom chains of your work. Its going to feel upside down (because it is) but it works out, so don't worry. The picture below shows my work after SC 3 in the last stitch. The next crochet space is the "bottom" stitch on the far left. You are rotating your work so the bottom is now on the top. 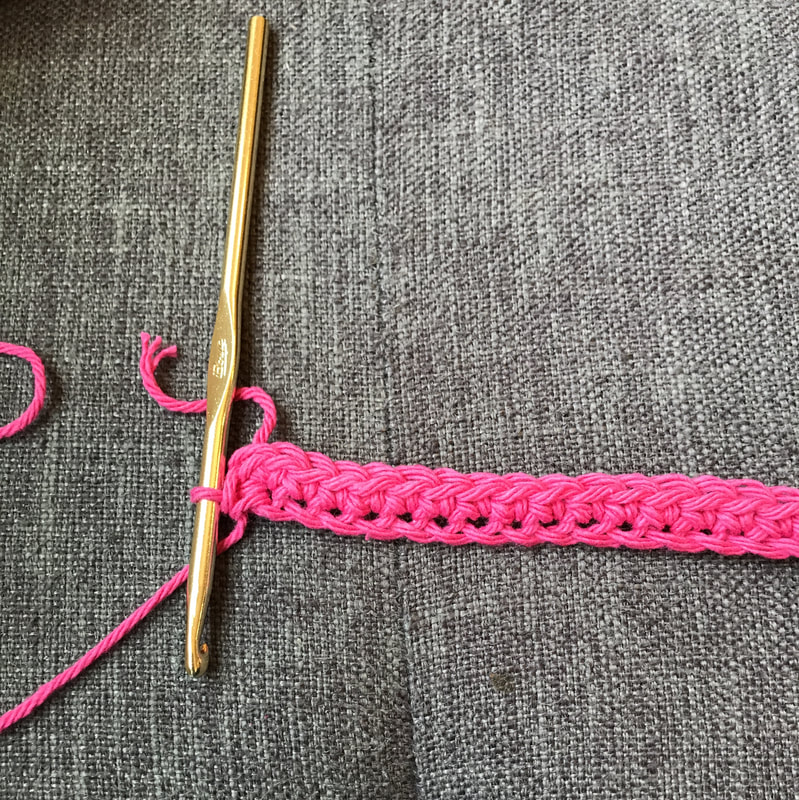 SC along bottom chain and around the corner until you have your work right side up again. This is where you will switch to white. 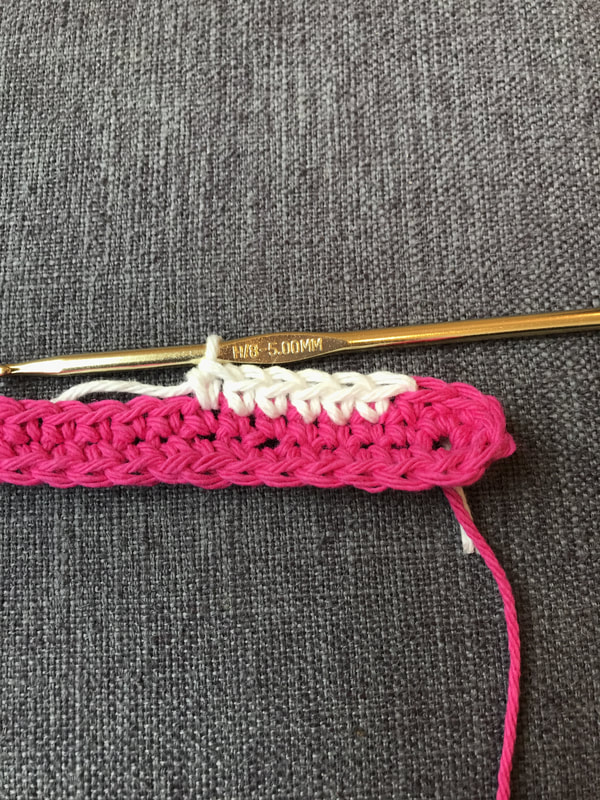 Drop your pink yarn and leave it right where its at. You will be dropping and picking up your yarn in this spot all through this project. You will know you have completed your rounds when you make it back to your dropped yarn. Crochet 2 rows of white. Because you are working in rounds your project won't line up perfectly. This is where your eyeballing comes in. Stop where you think the next pink will line up with the pink row below it. Now is a good time to point out this project is very one sided. Unless you'd don't mind the back side lining up perfectly. Thats the fun in working in rounds with stripes. Here's picture of the "back" of mine. Because this is a pot holder and will most likely sit on my table with a hot bowl on top of it, or hanging near the stove, I didn't worry too much about my back side not lining up perfectly. I also ended up with half a row of extra pink in there. See if you can catch that. Don't do it on yours ;) 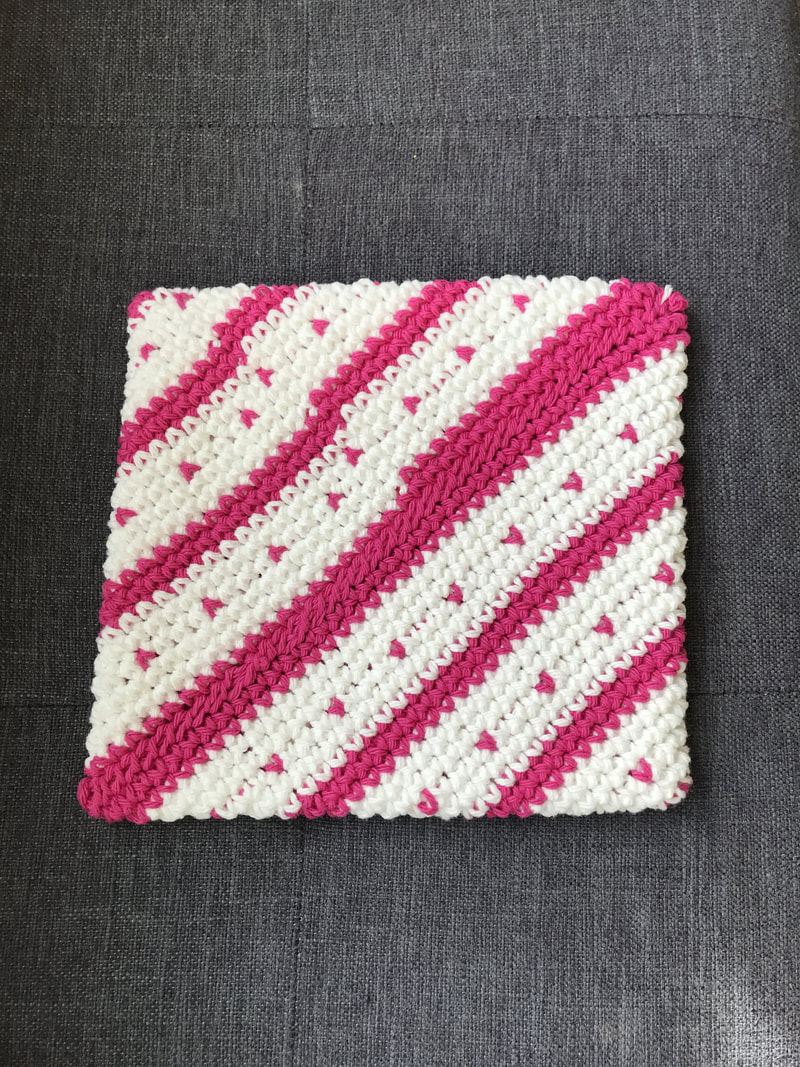 After your 2 rows of pink, switch to white. SC 2 white rows *Note* Your project will want to curl the "wrong" way where you feel like you are crocheting on the inside, after a few rows go ahead and curl it the other way so you are crocheting on the outside of your project. After your second row of white you will start your white heart row. The "heart" is done by holding both strands of yarn with the pink sitting evenly with your working stitches. Insert your hook into the stitch and pull up pink. Drop your pink yarn and finish off the stitch in white. Try to refrain from pulling your pink tight. You want it loose to get the stitch to pop. There is a great tutorial HERE for this specific stitch if you are having trouble with it. You will carry your pink yarn across the entire row of "hearts" and pick it up only when its needed. Crochet 3 white SC and 1 pink heart stitch. Continue this pattern for one round. Drop your pink and SC 2 rounds of white. At this point you should have 5 rows or "rounds" of white with the 3rd round being your heart stitches. Drop your white and pick up pink. Crochet 2 rounds of pink. On your next round of hearts make sure the line up with the heart from the previous row to keep everything looking uniform. Continue the pattern until you have something that looks a little like this (see photo below) You should have 4 rows of pink and 3 "sections of white. Don't tie off your yarn yet, you still need it! 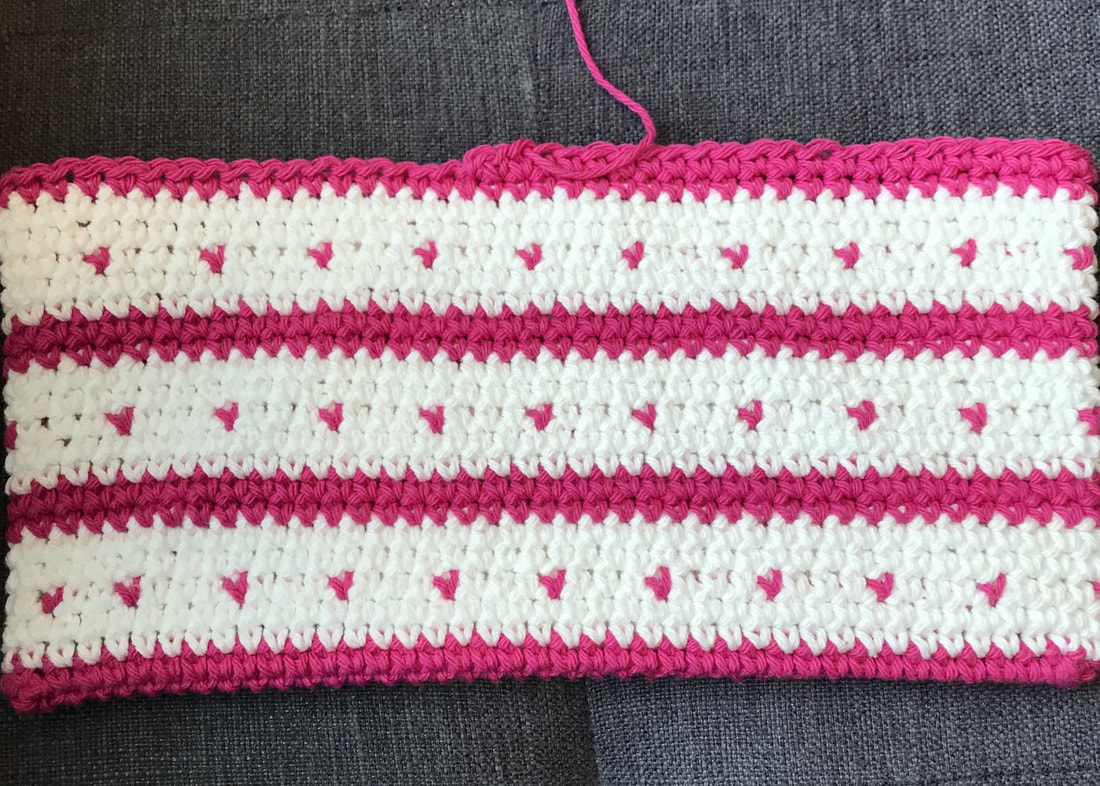 This is now where you will do a little magic trick to turn this into a hot pad. I have taken a few photos to show how its done. 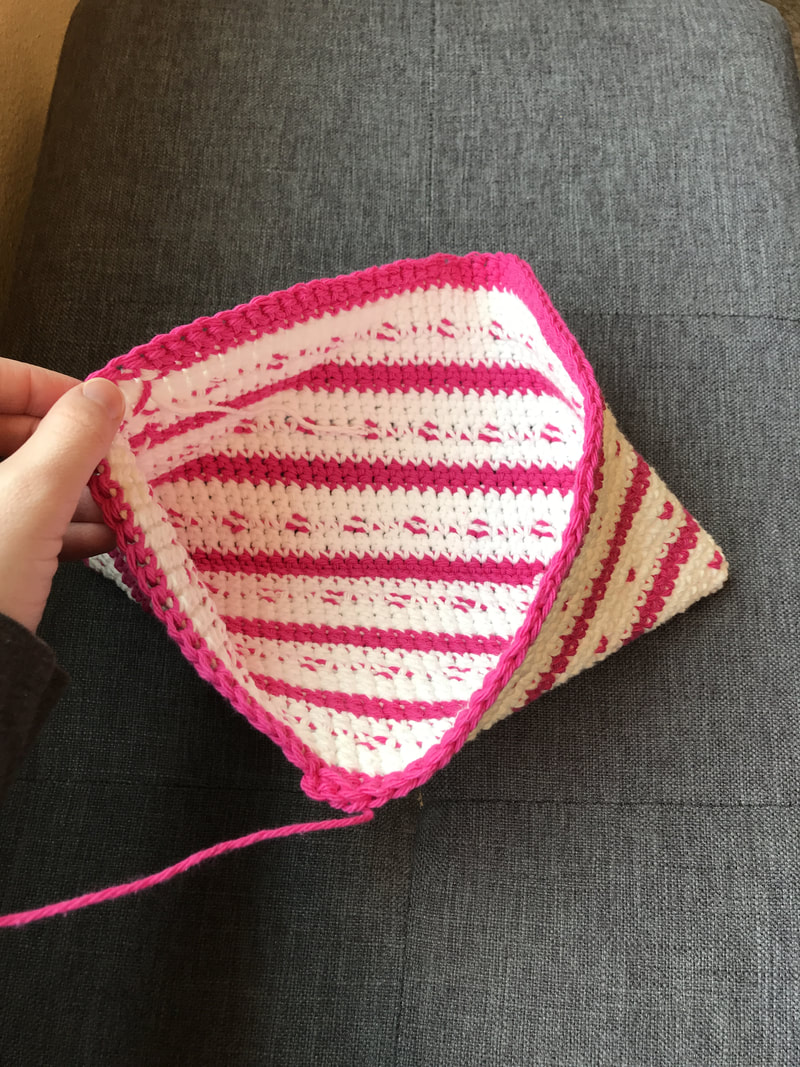 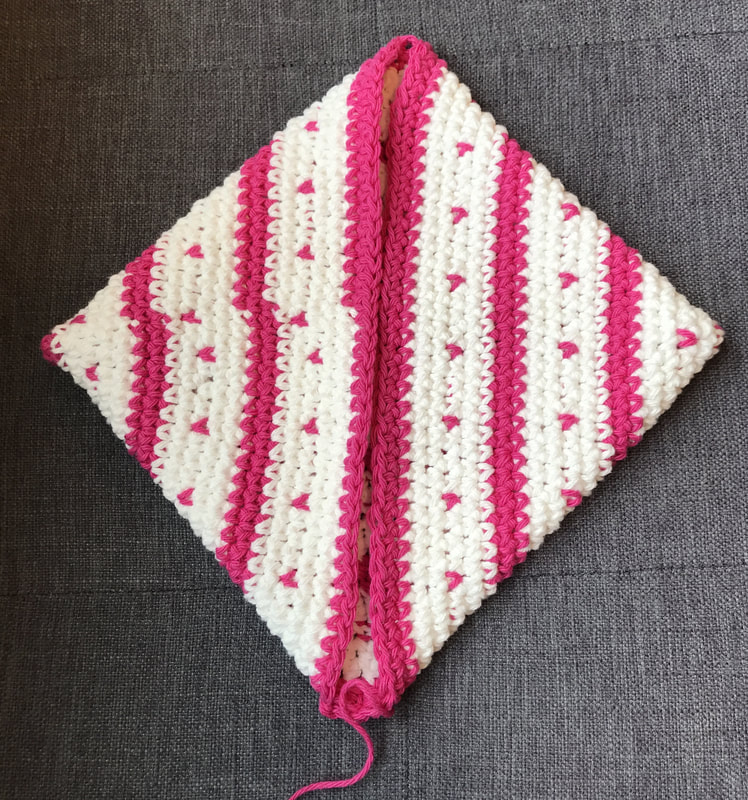 Cut off a long piece of pink and grab you yarn needle. Whip stitch through the 2 top pink rows to sew your hot pad together. Weave in your ends and you're done! I hope you enjoyed this! Happy Crocheting! :)
|
